How to change the Air and Cabin filter in your Car
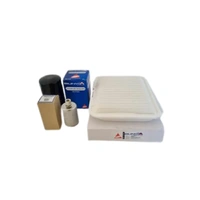
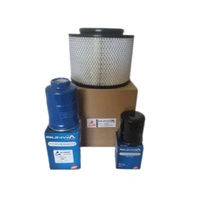
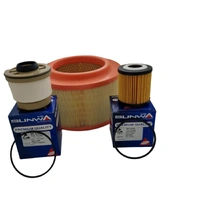
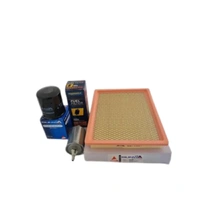
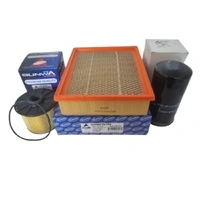
Today's video was filmed by Mark and Katie who will show you how to change the cabin and air filter of your vehicle. It's important to know that this video pertains to a Mitsubishi Triton but it will be the general rule of thumb for most cars. Please note we didn't capture the fitment of the fuel filter, it was just too hard to get the camera in close enough. But hopefully this will be straight forward for most people anyhow. So the first thing you need to do, especially if you have purchased from online is to check that you have all the parts of your kit. Particularly, as you take things off just also check that the item you are putting on is looking generally the same.
So from around the 1 minute mark of this video, you will see how Mark easily replaces the air filter. It really just drops in easily. So next, Mark demonstrates how to change, or in this case install a cabin filter for the first time. If you have an airbag, it's important to turn this off first, for obvious reasons. After removing the main glove compartment you are next hunting for some screws, some may be hidden! This will allow you to remove the plastic covering. Take your time, this part can be sticky. Be careful to not rip the wiring out. Find a way to unclip. Your basically removing plastic in order to get access to the cabin filter compartment. Some Mitsubishi's weren't fitted with a cabin filter, but you are still likely to have provision for it. If you are cutting away any plastic to install for the first time, be sure not to lose or drop pieces further into the compartment. Next, make sure you insert the filter the right way, making sure the screw holes are on the outside. No need to screw too tight, it's all only just plastic.
Easy Peasy, check out our YouTube Video
Video: How to Replace the Cabin and Air filter in your vehicle

